
Table of Contents
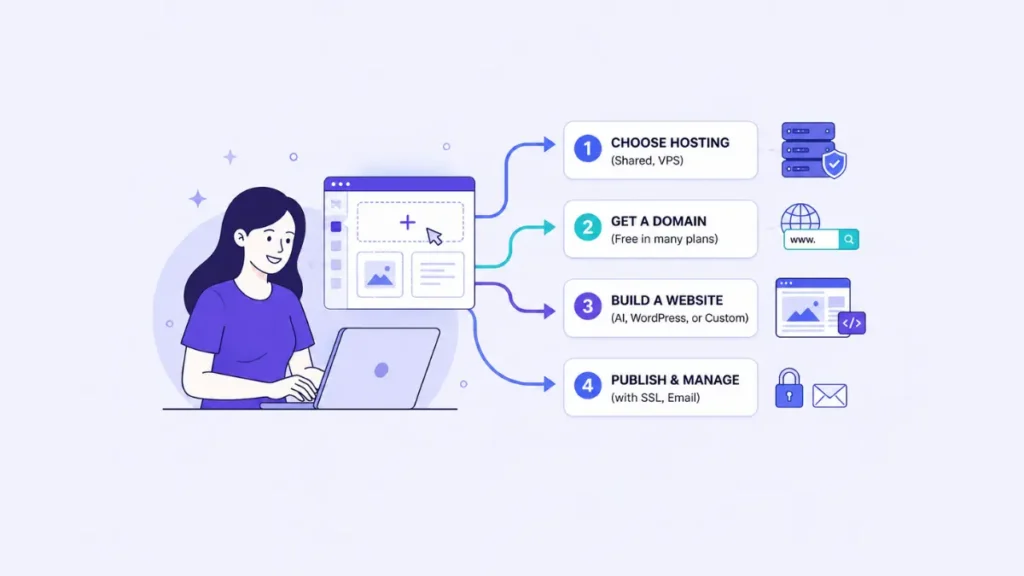
If you want to launch a website without getting stuck in technical complexity, Hostinger is one of the most beginner-friendly options available today. It gives you everything you need in one place—hosting, domain setup, website building, email, security, and site management.
For small businesses, freelancers, bloggers, and marketers, this unified approach matters a lot. Instead of piecing together multiple tools from different providers, you can get your site online faster and manage it all from a single dashboard. In this comprehensive tool guide, we will walk through how Hostinger works, why it is useful, how to set up a domain, and how to build a website quickly using Hostinger Builder.
Why Hostinger Is a Popular Choice for Beginners
Hostinger has become a popular hosting platform because it keeps things incredibly simple without removing essential features. It is purpose-built for users who want speed, affordability, and easy control over their web presence.
Many beginners and small businesses prefer it because it offers a highly intuitive dashboard that consolidates hosting, website building, domain connection, and professional email tools into a single platform. Whether you want to build a business site, a blog, a portfolio, or an online store, Hostinger supports it all.
Explore The Category: Web Hosting Tools
Furthermore, you are not locked into a single design approach; the platform gives you the flexibility to build with AI assistance, WordPress, or custom code. To top it off, helpful basics like SSL certificates, Content Delivery Networks (CDNs), and advanced performance tools are included right out of the box to support your website’s security and loading speed.
For a new website owner, this means less confusion, lower costs, and much faster progress. You simply do not need to be a developer to get started.
What You Can Do With Hostinger
Hostinger is much more than just a storage space for your website files. It provides a complete ecosystem of core tools required to launch and properly maintain a web presence over the long term.
By using Hostinger, you can purchase a new domain name or connect one you already own. You can seamlessly host your files, build a modern site using Hostinger Builder, or install WordPress with a single click. For advanced users, the platform allows you to upload custom HTML, CSS, or JavaScript files directly.
Beyond design, Hostinger lets you create professional business email accounts, enable robust SSL security, and manage your backend databases and performance settings. This all-in-one approach makes it a practical choice for anyone who wants to keep their digital assets under one roof.
Also Read Our Tool Comparison: Hostinger vs GoDaddy
Step-by-Step Guide to Launching Your Website
Step 1: Choose a Hosting Plan
The first step is to choose a hosting plan that fits your website’s specific goals. Hostinger offers a variety of plans depending on whether you are creating a personal blog, a small business website, or a larger online project.
For beginners, a shared hosting plan is often more than enough to get started. However, if you want more flexibility, better server resources, or plan to build a growing e-commerce site, a higher-tier cloud hosting plan may be a better choice.
When choosing your plan, look for:
- Enough storage for your content and media.
- Support for your expected traffic.
- Free SSL.
- Domain inclusion, if available.
- Email support.
- WordPress or website builder compatibility.
A simple rule works well here: start with what you need now, but choose a plan that leaves room for growth.
Step 2: Register or Connect Your Domain
Your domain name is your website’s permanent address on the internet. It is what people type into their browsers to find your site, such as yourbrand.com. Hostinger makes this setup phase incredibly straightforward. During checkout, you can choose to either register a brand-new domain name for free (with qualifying plans) or point an existing domain that you already own to your new hosting account.
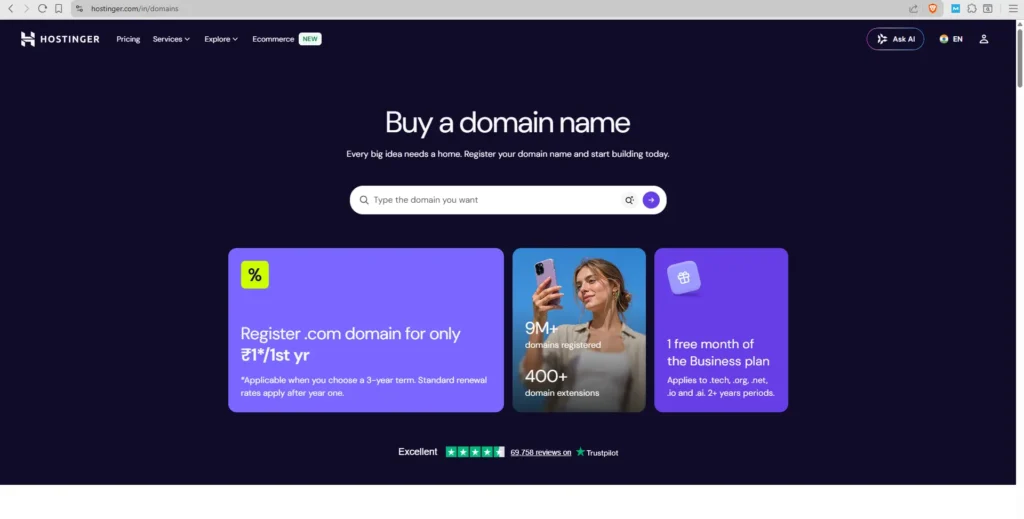
When choosing a domain name, aim for something short, memorable, and relevant to your brand or content. Avoid complicated spellings, hyphens, or unnecessary numbers that might confuse your audience.
Real-Life Examples:
- Freelance Portfolios: If you are launching a freelance creative site, a domain like yourname.com, yournamecreative.com, or yourname.design works perfectly to establish a personal brand.
- Service Businesses: If you are starting a local agency or service business, a clean setup like brandname.in, brandnameagency.com, or brandnameservices.com builds instant credibility and helps users remember your name.
Step 3: Open the Hostinger Dashboard (hPanel)
After completing your purchase, you will log into Hostinger’s custom-built dashboard, known as hPanel. This central hub is where you will manage almost every aspect of your online presence, including your hosting environment, domains, business emails, website files, security protocols, and performance upgrades.
The dashboard is designed so that you do not need to jump between multiple confusing software tools. Everything is clearly organized into dedicated visual sections that are easy to locate, significantly reducing the learning curve for beginners and eliminating costly mistakes.
Step 4: Choose Your Website Building Method
Hostinger offers multiple ways to build a website, which is highly beneficial because different projects require different tools. You can choose from three main pathways:
- Hostinger Builder: The ideal choice if you want the fastest, no-code option. It uses intuitive design tools to generate a polished site in minutes.
- WordPress: The industry standard for blogs, content-heavy sites, and businesses looking for deep customization and long-term flexibility.
- Custom Code: The perfect avenue for developers who want to upload their own pre-written HTML, CSS, and JavaScript files for full layout control.
Step 5A: Build a Website with Hostinger Builder
Hostinger Builder is perfect for beginners who want to launch a site quickly without touching a single line of code. To get started, navigate to your dashboard, select Create a New Website, and choose the Hostinger Website Builder option.
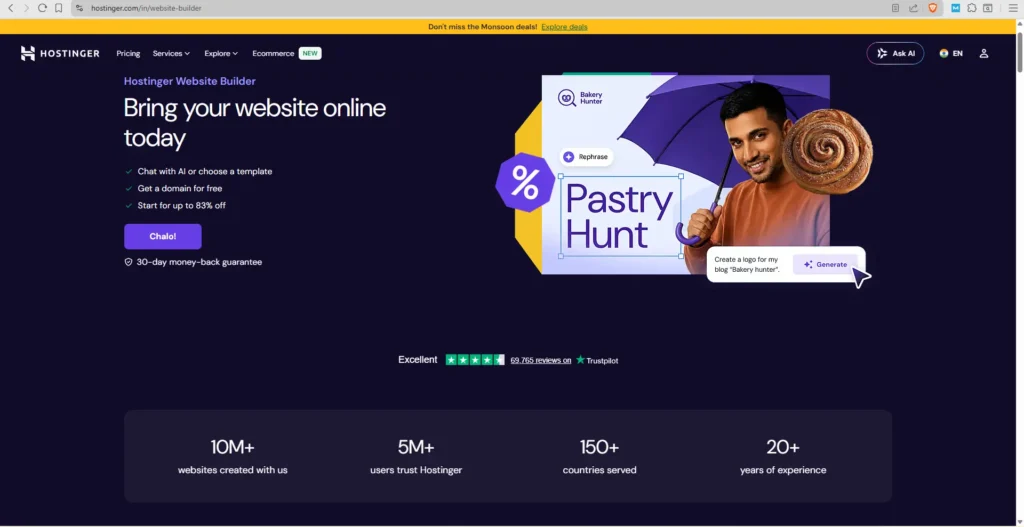
The system will ask you to enter your brand name, choose your website type, and select a preferred color scheme. From there, you provide a brief description of your business or project.
The built-in AI will use this information to automatically generate a tailored starter website complete with sections for a homepage, services, and a contact form.
Real-Life Example:
Imagine you run a digital marketing consultancy. You can enter the brand name GrowthNest and describe it as “A digital marketing agency helping startups grow through SEO, ads, and content.” Hostinger Builder will immediately generate a professional website draft with relevant images, call-to-action buttons, and matching text blocks. You can then use the drag-and-drop editor to swap in your real content, preview the design on mobile devices, and hit publish.
Step 5B: Build with WordPress
If your website requires a complex content structure, an extensive blog layout, or specific third-party integrations, WordPress is your best option. Hostinger features a guided, one-click WordPress installation process that removes all the traditional technical friction.
To install it, select the WordPress option from your dashboard setup wizard, set up your administrator login details, and choose a starting theme. Once the automated installer finishes, you can log directly into your WordPress dashboard.
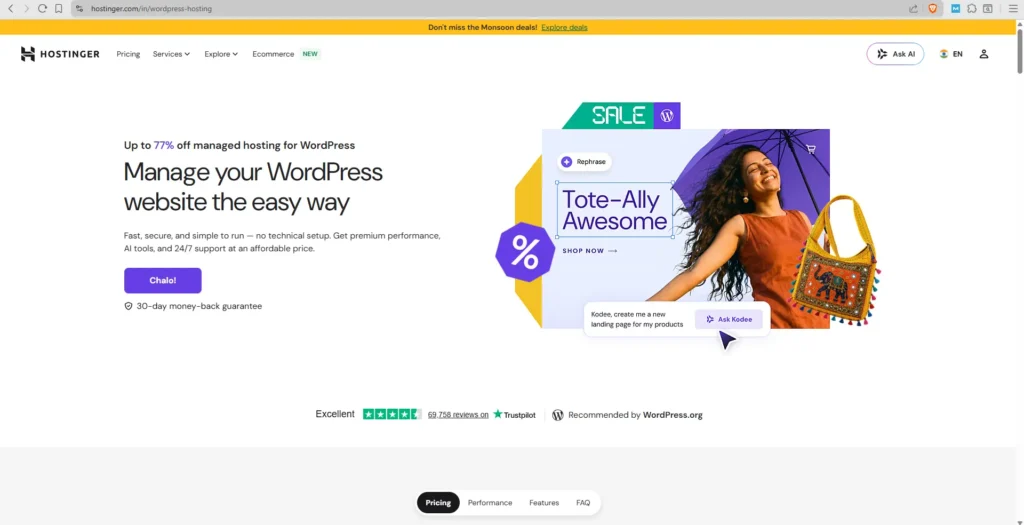
From there, you can install plugins, add new pages or posts, customize your design settings, ensure your SSL is active, and publish your content to the web. This method is highly favored by SEO consultants, content creators, and growing businesses for its extensive plugin ecosystem.
Step 5C: Upload Custom Code
If you or a hired developer has already built a website locally, Hostinger allows you to upload your custom files manually. This is the ideal route for hosting static landing pages, custom JavaScript web apps, or lightweight portfolios.
To do this, open the integrated File Manager inside your hPanel dashboard and navigate to the public_html directory. From there, simply upload your HTML, CSS, JavaScript, and media assets. Just ensure that your primary homepage file is correctly named index.html so the server knows which page to display first when a visitor types in your domain name. You can also use FTP access if you prefer managing files through external code editors.
Step 6: Set Up Email, SSL, and Performance Tools
Once your website’s layout is complete, you should configure the essential features that make your digital presence look professional and secure.
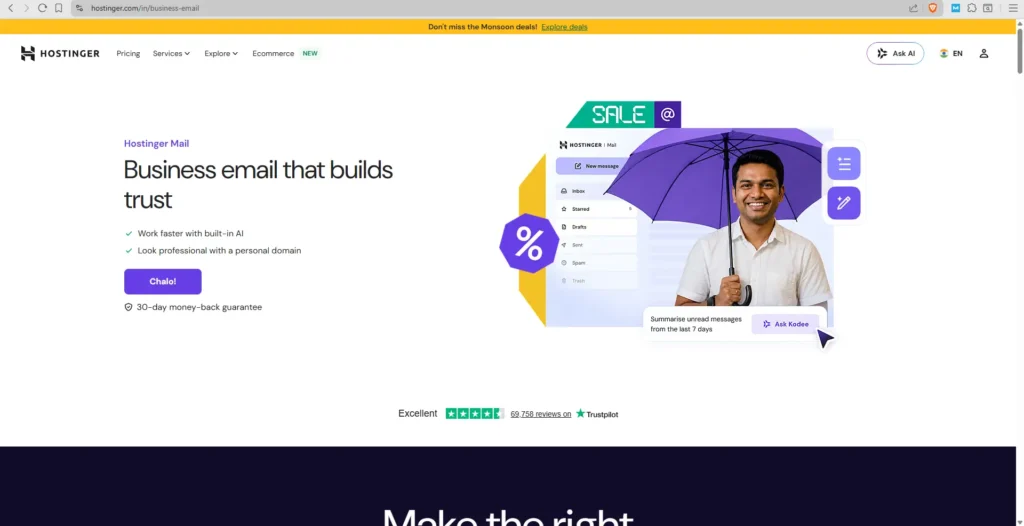
First, use Hostinger’s email portal to create a custom business email address, such as info@yourdomain.com or hello@yourdomain.com. This instantly builds trust with clients compared to using a free personal email address.
Next, activate your free SSL certificate to secure data transmission and change your site protocol from HTTP to HTTPS, which is vital for browser safety and search engine rankings.
Finally, toggle on Hostinger’s built-in performance optimization and caching tools to ensure your pages load incredibly fast, keeping visitors engaged on your site.
Step 7: Review and Publish Your Site
Before sharing your new website with the world, take a few minutes to review everything carefully. Open your site preview, test the homepage’s responsiveness, ensure all menu links navigate to the correct pages, and submit a test message through your contact forms.
You should also verify that your images display properly on mobile layouts, check your basic SEO meta fields, and confirm that the security SSL badge is active in the address bar. Once everything looks polished and functions seamlessly, click the final publish button to go live.
Also Read Our Success Story: How a Growing Business Boosted Brand Visibility Using
Why Hostinger Can Be Better
Hostinger stands out mainly because it lowers the barrier to entry. Many platforms offer hosting, but not all of them make the setup this easy for beginners.
Here is where it often performs well:
- It combines hosting and website creation in one place.
- The dashboard is simple and beginner-friendly.
- It supports multiple website-building methods.
- It reduces the need for technical setup.
- It includes essentials like SSL, email, and performance tools.
- It is suitable for both beginners and growing businesses.
For someone launching a website for the first time, that combination is valuable. It saves time and helps you move from idea to live site without feeling overwhelmed.
Final Takeaway
Hostinger stands out in the web hosting industry by significantly lowering the barrier to entry for beginners. It effortlessly combines premium hosting infrastructure with intuitive creation tools, allowing you to move from an abstract business idea to a live website without feeling overwhelmed by technical jargon.
Whether you choose the automated AI-driven Hostinger Builder, the highly scalable WordPress platform, or manual custom code uploading, this platform provides a smooth, reliable path from initial setup to final publication. If you are planning to launch a blog, a service website, a portfolio, or an online store soon, explore Hostinger’s plan options to find the perfect match for your digital goals.
If you are planning to start your website soon, explore Hostinger and choose the plan that fits your goals.
Frequently Asked Questions
1. Is Hostinger good for beginners?
Yes. Hostinger is beginner-friendly because it combines hosting, domain setup, and website building into a single dashboard.
2. Can I use my own domain with Hostinger?
Yes. You can register a new domain or connect a domain you already own.
3. Do I need coding knowledge to use Hostinger Builder?
No. Hostinger Builder is designed for users who want to create a website without coding.
4. Can I build a blog with Hostinger?
Yes. You can build a blog using WordPress on Hostinger.
5. Does Hostinger support business email?
Yes. You can create professional email addresses connected to your domain.